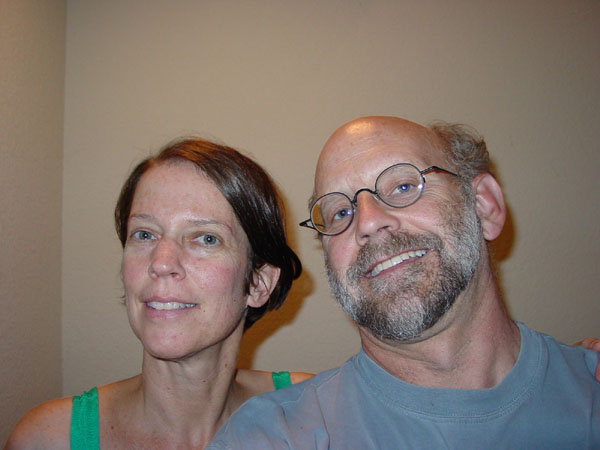
Our original plan (there we are on the right) was to make a model of an octopus that was attacking the van for Burning Man. We were going to decorate it with glow wire (available from Cool Neon) and to have different banks of wires light up in patterns driven by a sequencer.
But the canned sequencers are brain-dead, so I decided to build a little circuit with a microcontroller that could light banks in an interesting sequence.
I can just write words to the 8-bit parallel port, so eight banks seemed like the right way to go. But one thing led to another and my wife Ellyn suggested that since there are eight banks and eight notes in an octave, we should make it so that the banks of lights can also be controlled by a keyboard. We plunged ahead with this and got too far along to back out by the time I realized that there are only 7 notes (or 12, if you count the "black notes") in an octave.
Anyway, the plan is this:
We'll make the body of papier mâchè, paint it, and then attach
glow wire all over the body in eight banks of color in a nice
pattern. A microcontroller will cycle through patterns to amaze
and amuse viewers.
And, there will also be a keyboard where the keys will not only
play a tune, but each key will illuminate a bank of lights. Chords will
light chords of banks of lights. If somebody is playing the keyboard,
that will control the octavepus. If no keys are pressed for a while,
the microcontroller will take over and begin again to
run through interesting patterns.
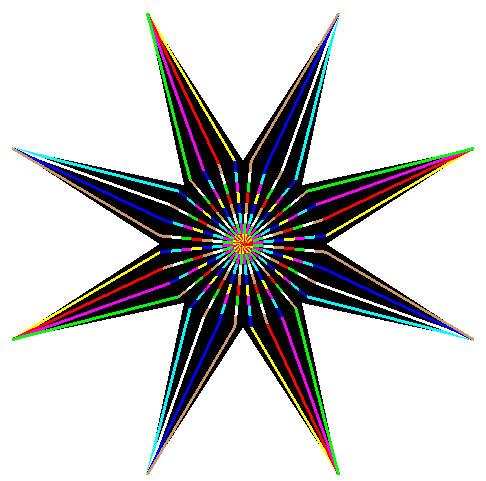
Here is a simulation of the glow-wire banks on the body of the octavepus. Each color in the illustration corresponds to a bank. There is no need to have all the parts of a bank use the same physical color of glow wire, although they probably will. Any combination of those banks can be turned on and off. Click on the image to the left if you want to really see what's going on.
If you have a fast network connection, this mpeg
movie will show you the sort of thing you can see on the running simulator. The
size of the movie is about a million bytes.
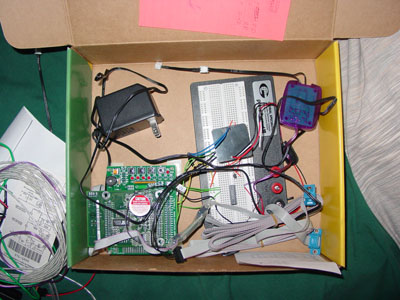
Here's the microcontroller I'll be using to flash colors on the body
of the octavepus.
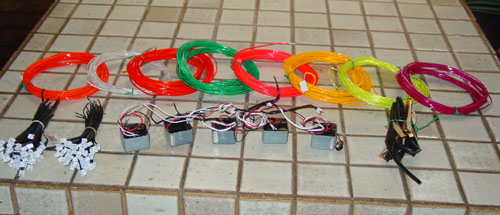
Here is the glow wire that will eventually decorate the octavepus.
It just came out of the package.
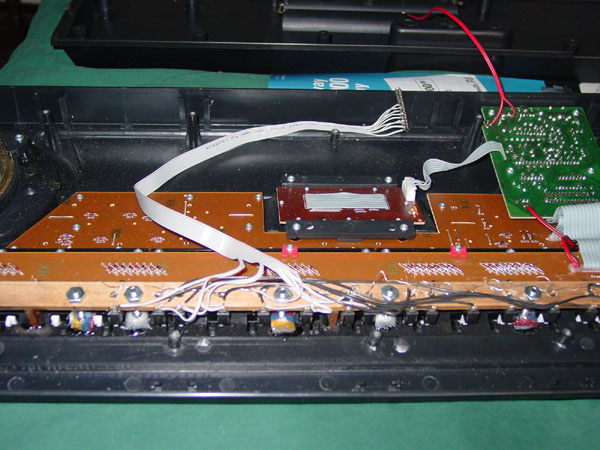
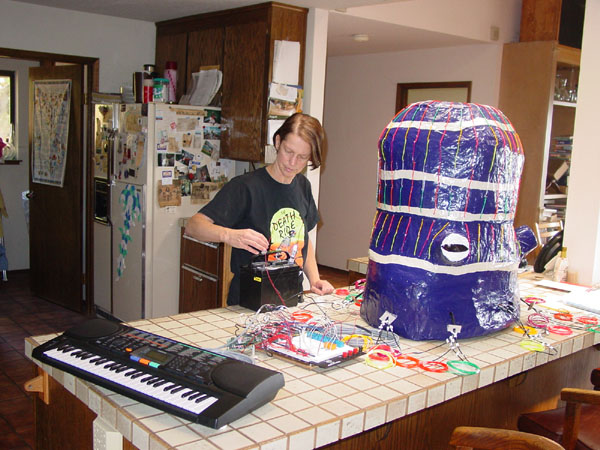
Here's the Radio Shack keyboard after I hacked in (literally) a set of
my own switches to read the key up/key down information.
Of course with the addition of a keyboard, things got complicated. At first I thought I could just read the MIDI signals it puts out, but either I'm too stupid to figure out how to do it or something is screwed up in the microcontroller's RS232 circuit. I spent nearly 3 full days messing with this and finally gave up.
I purchased the cheapest Radio Shack keyboard, opened it up, and installed microswitches under the white keys. Then I can sense the up/down-ness of the keys and I don't have to mess with the circuit inside the keyboard, which continues to work exactly as it did before, making sounds and everything.
And the guy at Radio Shack wondered why I didn't purchase the extended warranty...
But now I needed some logic to OR the outputs from the keyboard with the outputs
of the microcontroller, and some other logic to OR together all the keyboard
outputs to provide a signal that the microcontroller can sense to notice that
somebody is noodling away on the keyboard and that it should stop sending out
its own crap to the parallel port.
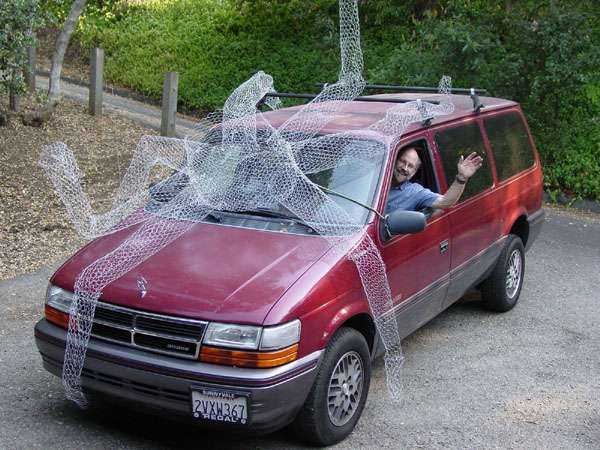
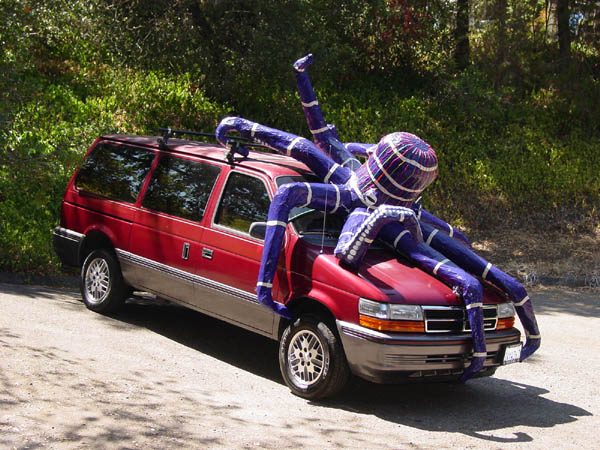
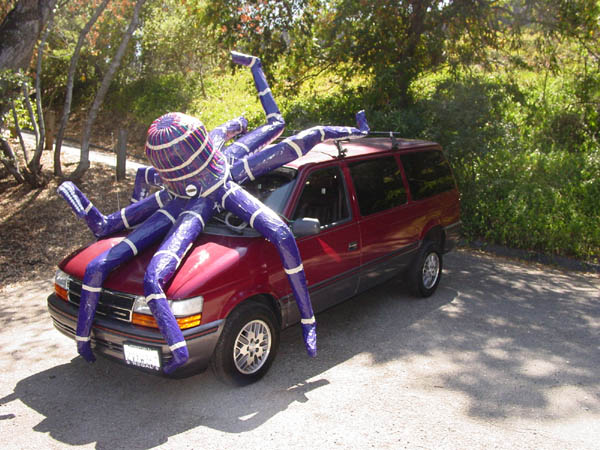
Here I am, driving my van with the octavepus skeleton attached to
the front. Actually it's missing one arm, and we don't have the
head built yet. It needs to be covered with papier mâchè and
then glow lights.
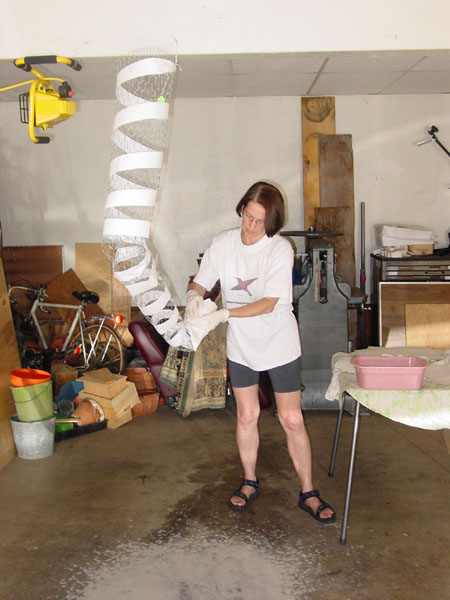
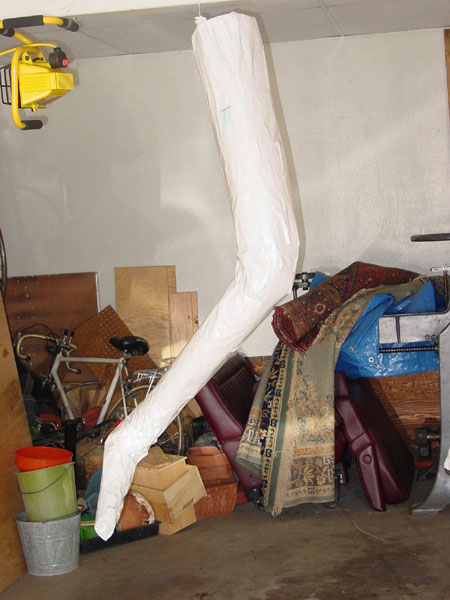

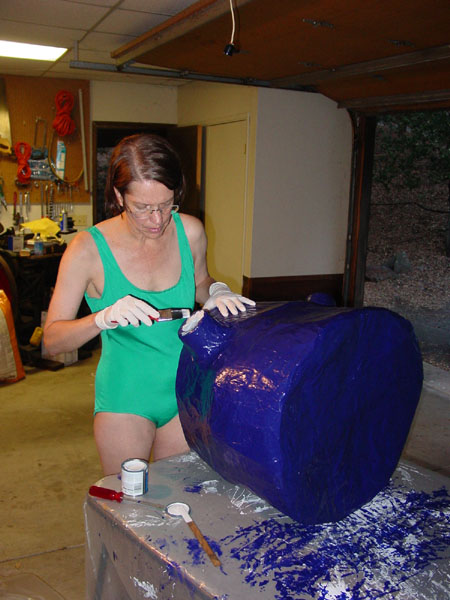
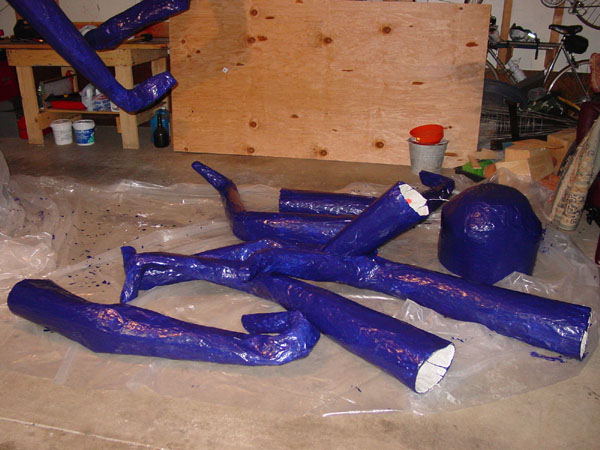
Here we're putting papier mâchè on the arms and body. We wound
the wire with adding machine tape so the paper would have
something to attach to, and this worked well. You can see Ellyn
working on one of the arms, the finished product hanging from the
garage ceiling, and finally, the complete collection of arms and
body.
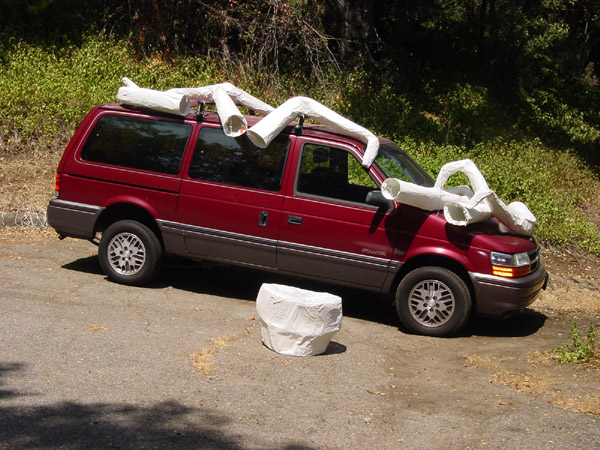
In fact, the van has multiple uses. Here it is being used as a drying
platform for the still-wet tentacles.
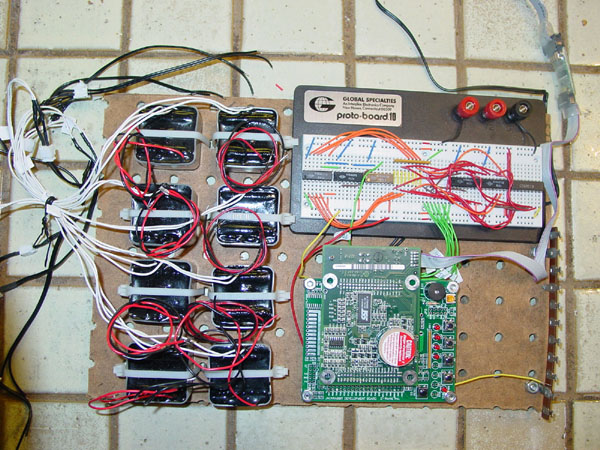
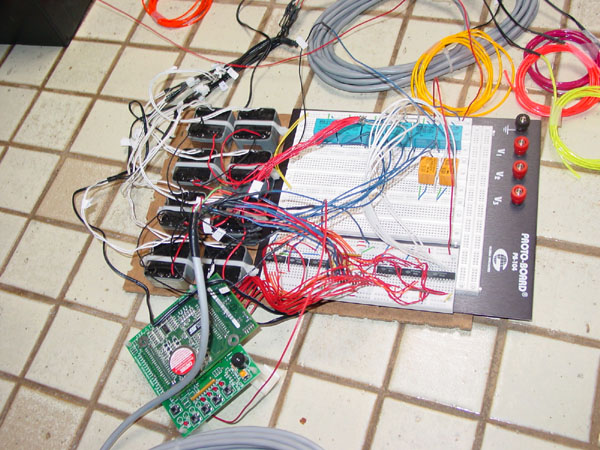
I finally wired together most of the computer stuff. It seems to work,
at least when I feed it simple test cases. There wasn't even any smoke!
On the left are eight heavy-duty
drivers. On the bottom right is the "Rabbit" microcontroller, and above it is
a prototyping board with the logic to decide whether the octavepus should
"listen" to the computer or to the music keyboard.
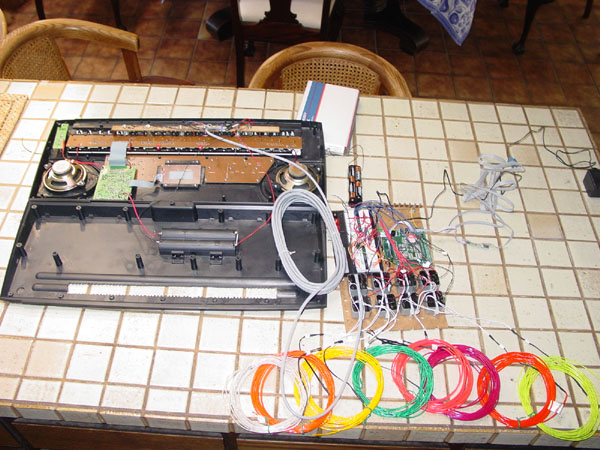
Here's everything, including the keyboard, wired together and tested. On the left is
a close-up of the main part of the circuit; on the right is an image that shows the
keyboard, glow wire coils, and the connection to the main circuit. If you look
closely at the image on the right, you'll see that the whole mess is powered by a
group of 8 AA cells. I figure they might drive it for a half hour. We'll probably
need a car battery or something like that to run the octavepus for hours and hours
at Burning Man.
As of August 6, I've got the program in the microcontroller working perfectly. I
even invented a language to describe sequences of notes, so any idiot can program
it. See the section below.
Here is the head and tentacles having received their first layer
of paint. On the left Ellyn is beginning to paint the eyes.
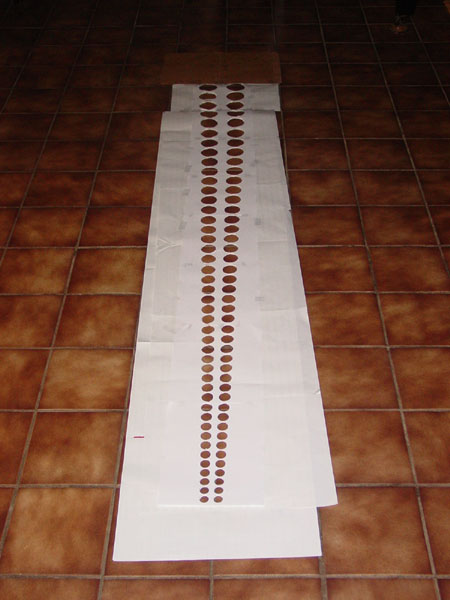
We decided to put suckers on the tentacles, but were too lazy
to shape and glue the approximately 1000 suckers that would be
required. So I wrote a little PostScript program that generated
pages with two rows of circles of decreasing size. Then we glued
those together, mounted them to a slightly stiffer piece of
paper, and cut out all the holes with scissors and exacto knives. Now,
with a can of spraypaint and this six-foot stencil, we can paint on all
the suckers at once for each tentacle.
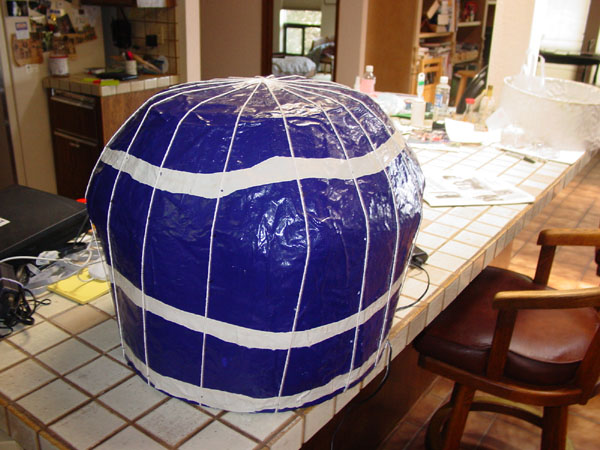
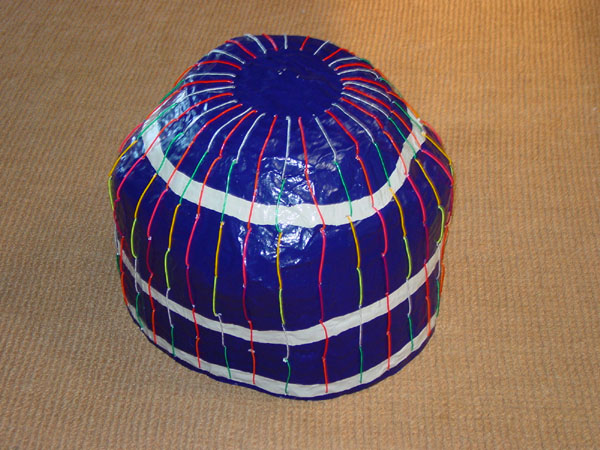
I needed to make 32 equally-spaced rows of wires on the head, so
I first strung pieces of string for 16 equally-spaced lines as
shown in the image on the left. I measured the distances for
holes and drilled them for the 16, and it was easy to interpolate
to get the other set of holes. Then it took basically forever to
thread all the glow wire through all the holes to get the
finished head, shown on the right. I still need to do two rows
on the body (to which the head attaches), but that should be
pretty quick.
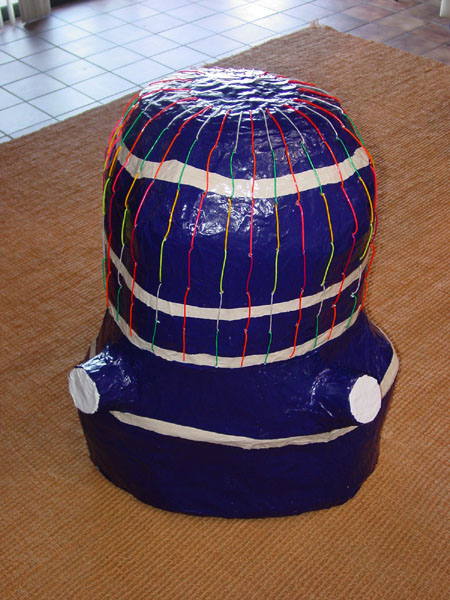

The image on the left shows what the head plus body will look
like. Two rows of wires need to be attached on the body below
the head. The bottom nine inches of the body are where the
tentacles will hook on. On the right (for those who like to see
the gory details) is a view inside the head.
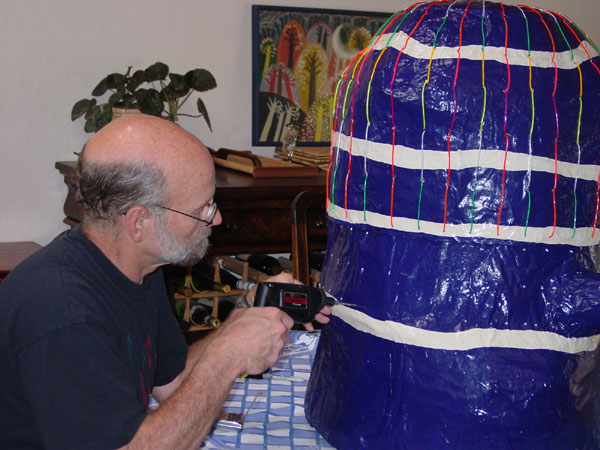
Here I am, drilling holes in my head. Well, my octavepus head.
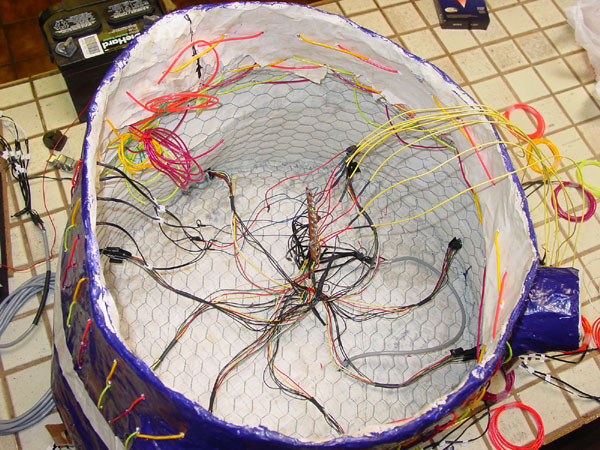
Here is a shot inside the head showing the more or less final wiring
harness. It's actually a total rat's nest. We needed to run four signals to
each tentacle (eight wires each), eight pairs to the top of the head, and
four pairs to the body. All the tentacles need to be removable, and the
top removable from the bottom for transport, so there are connectors at
the end of every pair of wires. I was totally amazed when this thing
worked the first time!
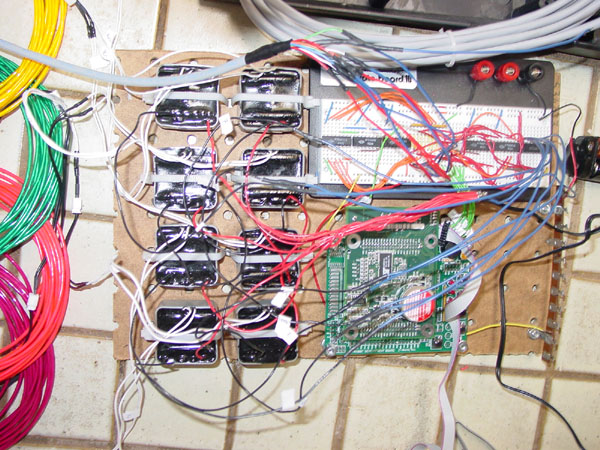
So, back to the drawing board. I tried doing the equivalent with some high power transistors, but I'm too stupid, and think maybe FETs would be the way to go, but I had a couple of relays lying around, and I knew I could make them work. So I did, although the layout was now a lot bigger and required a larger proto-board.
On the left is the almost finished circuit, complete with the
"lawn tractor" battery that'll be used at Burning Man. On the
right is a close-up of the new circuit with the relays and rat's
nest of wiring. Now we just need to attach the tentacles to the
body and attach the glow wire to the tentacles. The plan is to
glue on at intervals little pieces of aquarium tubing and thread
the glow wires through that, perhaps with a drop of glue at each
end. In the image on the left you can see the wire connectors
for the tentacle glow wire coming out of the side of the
octavepus body.
Ellyn even washed the van yesterday in preparation. Well, not
really. But the van will be a pain to drive with the octavepus
in place.

Maybe I'll do something with the eyes. They show up fine in
daylight, but are invisible at night. Maybe some loops of glow
wire around them ...
Want to send me mail? Click here: tomrdavis@earthlink.net.
Return to my home page.
Here's code to parse octavepus "music".  Each piece of music

is just a null-terminated ascii string.  Here are the possible

commands in the string:


1, 2, 3, 4, 5, 6, 7, 8: color bank identifiers

r: random color, different if possible

W, H, Q, E, S, T, X: whole, half, quarter, 1/8, 1/16, 1/32, 1/64 notes

t: tempo

r: repeat

m: tempo multiplier

%: percent time fill

$: percent multiplier

(): grouping

,: note separator

~: complement color selection

': morse code


All other characters are ignored, so include spaces as

desired.  On any error, the "song"  terminates.  If you want a

long string, you can break lines.  For example:


"Q(1,2,3,4)"\

"H(2,3,5,8)"


is equivalent to:


"Q(1,2,3,4)H(2,3,5,8)"


Defaults:


t(120) %(100) p(20)


--------


Grammar examples:


"W(12) H(325) Q() Q(45678)"


Play colors 1 and 2 for a whole note, then

3, 2, and 5 for a half note, then a quarter note of darkness, then

a quarter note of 4, 5, 6, 7, and 8.


"Q(1,12,123,,4)"


Play 5 quarter notes; first is 1, second is 1 and 2,

third is 1, 2, and 3, fourth is nothing, fifth is 4 only.

The pattern can begin or end with commas, and multiple

commas are OK.


"Q(rr) Q(12rrr)"


Quarter note with two random colors, then

quarter note with 5 colors, two of which are 1 and 2 and

the other three are random.  Each 'r' makes a call to the

random number generator, so "Q(r,r,r)" will flash three

quarter notes of one color each.  The colors may or may

not be the same.


"t(132)"


Tempo = 132 quarter notes per minute.


"m(105)"


Multiply tempo by 105%.  All arithmetic is done to the

nearest integer, so "m(101)" won't affect a tempo of 50,

for example.


"%(82)"


Play every color for 82% of the note time, then 18% off.


"$(80)"


This does the same thing for percentage display time as

"m" does for tempo.  Of course the percentage has an upper

limit of 100%.


"r(3)({sequence})"


Repeat 3 times whatever is in {sequence}.  Can

be recursive.  For example:


    "r(3)(r(2)(Q(2)H(1))r(4)(Q(r)))"


is equivalent to:


    "Q(2)H(1)Q(2)H(1)Q(r)Q(r)Q(r)Q(r)"\

    "Q(2)H(1)Q(2)H(1)Q(r)Q(r)Q(r)Q(r)"\

    "Q(2)H(1)Q(2)H(1)Q(r)Q(r)Q(r)Q(r)"


"~({pattern})"


Invert all the color sets in {pattern}.  If you nest it, of course,

it undoes the negation, et cetera. For example:


    "~(Q()~(Q(1)))"


Alternates between all colors 1 through 8 and the single color 1.


"'{text}'"


Display in morse code the text. Each "dit" is an eighth note long

and the text can include a-z, A-Z, 0-9, and comma, period, and

question-mark.  For example:


    "t(150)'Fuck John Ashcroft'r(10)(X(1,2,3,4,5,6,7,8,7,6,5,4,3,2,1))"


"p(50){pattern}"


Unless interrupted, repeat {pattern} for 50 seconds.

This command can only be used once in any pattern.  If it appears

more than once, the final call takes precedence.


"t(80) %(80) r(25)(Q(1234) Q(5678) m(105))"


Set the tempo to 80 quarter notes per minute, display colors for

80% of each note time, then 20% off.  Repeat 25 times: show first four

colors for a quarter note, then the last four colors for a

quarter note, and then speed up by 5%.  The sequence is thus

repeated 25 times, each time 5% faster than before.  Then it

returns to the original speed.


"W(1)H(2)Q(3)E(4)S(5)T(6)X(78)"


Play successive colors faster and faster (speed doubles each

time). Show 7 and 8 at once on the last flash.